The Mission:

I am building an airplane. I really can't tell you how weird it sounds to me to hear those words in my head as I type. I am keeping this blog as an adjunct to my written log, which is required to comply with FAA requirements for Experimental Aircraft construction. My son Doug is my partner in this project. There are two goals: to build the best, safest, and yes, COOLEST, airplane we can, and to allow Doug to acquire some truly awesome experiences, not to mention building skills. Thanks for viewing.


How to use this blog

The most current post is displayed on this opening page. To access the older posts, click on the "Blog Archive" on the right hand side. The drop down menu is arranged by the month and lists the posts, by title and by date posted, in reverse chronological order.

I will arrange the hypertext links to other websites I find interesting better some day, but they are at the bottom.

If you navigate to my first post, there is a link to my luthiery pages. I miss working with wood. Aluminum is nice, but it's boring. Give me a highly figured maple any day!

Tuesday, December 18, 2012

The penultimate post

Penultimate in this context means "next to last".  This blog was created to compliment my written builder's log, in satisfying the "51%" rule for certifying my airplane as "EAB" Experimental- Amateur built.  It has been a nice place to post photos for interested friends, family and others to check in on Doug and my progress with the build.

But that is now in the past.  Today, Captain Gary Brown, representing the FAA as a Designated Airworthiness Representative (DAR), came to my hangar (despite the snow!!), and inspected my documentation, my logs, and my airplane.  He "concurred" (the official FAA term) with my condition inspection of the airplane as being "in a condition for safe flight" and I received my certificate of airworthiness.  Along with this came my operating limitations, and the instructions for my test program (Phase1).

N1991M is no longer a building project.  N1991M now a real airplane.

I will post one more time: after the first test flight.  After that, this blog will have served it's purpose.

Thank you all for viewing.


Doug heads out in the plane for a ground taxi check.

In (slow) motion.  All monitors "nominal".

Tuesday, December 11, 2012

SOLO!!!

Doug turned 16 on November 28th.  The weather cleared two days later, and he soloed.  A link to his pre solo flight with Dorothy Schick, his CFI is here:

http://youtu.be/Yg16iQ8GeCo

He made three solo takeoffs and three "butterfly" landings; so soft and quiet that you couldn't hear the tires chirp on the runway.  Unfortunately, the in flight cam failed, so we don't have the solo on video, just the pre-solo flight.  You can tell how good he is from the short video clip.  He hasn't even gotten his driver's license yet.  But Doug can fly...

After the solo, admiring John Stahr's American Angel RV8

There is only one person aboard this plane. 16 year old Doug.

Not an RV grin, but equally well earned

Test fitting side panels. Inspection by DAR next week!!

Sunday, November 4, 2012

"Controls, free and clear"

Doug and I received the plane back from John Stahr, our painter, over two weeks ago.  However, work and life got in the way, and we have only managed about four half work days since then.  We did get the wings on, the close tolerance bolts in, and the controls surfaces connected and rigged.  We also got a rare treat today:  SUN.  But by the time I finished what work I could get done today, though, the sun was pretty low on the horizon, casting shadows which obscure the photographic points I wanted to make.

The story behind our paint scheme is this: Doug wanted a silver plane, and Doug's Mom wanted a very visible plane.  In Oregon, grey or silver wouldn't be one's top choice for visibility.  (We get our share of cloudy days, after all).  John Stahr's solution was to paint the belly, the underside of the wings, the cowl, and the wheel pants and fairings a dark grey, and transition to a very glittery silver on top.  This gives us the best of all worlds: visibility and the silver look Doug wanted.  It also matches the Hartzell prop, though this was, in all honesty, a happy coincidence.  The silver stripes were another of John's ideas.  They make the plane look like it's flying even when it is standing still, and reshape the visuals of the wings to be less "Hershey bar" and more tapered looking.  I happen to think it looks stunning.  The photos don't fully show the glitter in the silver paint.

Canopy open. View from right front quarter

Moving shadow out of photo!


With canopy closed


Detail of wing stripes


Oh, and one more thing.  I really like how the canopy latch fairing idea turned out. Remember we had to hide a small crack in the canopy. While we were at it, we decided to eliminate the gap that occurs as the canopy latch protrudes back. As my junior high shop teacher said, "if you can't hide it, flaunt it". The screw is a temporary one. The final will be silver colored stainless steel.


Saturday, October 20, 2012

Handling adversity

OK, so Doug and I finally pulled all the protective plastic off of the canopy to see how it looked. Lo and behold there was a CRACK starting from the hole for the handle and extending back and to the passenger side of the canopy.


crack in canopy


After conferring with my technical counselor, I drilled a stop hole to arrest further movement of the crack

Out in warm sun to soften plexiglass


Now what??  I asked Doug, my son, what he wanted to do.  We came up with a plan to hide the crack under some fiberglass, and use the fiberglass instead of a metal strip over the center of the canopy.  Doug came up with this idea for a shape:


We got the idea from John Stahr, our painter, to blend the center strip in to a fairing under the opening latch


Back on track. Finished the fiberglass around the windscreen.


more work evening the cowling hinge line

Sanding and flaring the fairing around the windscreen

John came to pick up the plane and take it to his shop for painting


These are some CAD drawings showing proposed paint scheme


So we are left with an empty hangar.


Which allows us to clean wals and floor in preparation to receive back painted plane soon


STAY TUNED!!!


Saturday, September 1, 2012

Fairings

Work continus on the "targa strip":  the fiberglass transition between the front plexiglass windshield and the sliding canopy.  Shown in the first photo is the peel ply laid up after the last of the fiberglass and microballoon layers to smooth the surface and absorb the excess fiberglass.


Peel ply

After the microballoons are added, hardened and sanded

Next, Mike, my older son, and I, worked on the wooden gear leg stiffeners.  While not strictly necessary, these decrease the likelihood of wheel shimmy on some landing surfaces, and I didn't want to have to add them later.  On the other hand, since I made them a bit on the wide side, I wanted to make sure they were "in trail" aerodynamically, since their position will affect the ability to position the gear fairings, which go on next, and the gear leg fairings NEED to be perfectly "in trail".  Otherwise, they act as canards, and can affect the lift and steering of the plane.

Wooden stiffener.  Made of straight grain Douglas fir. Attached with two layers of fiberglass.


The gear leg fairings are installed.  Per Wally Anderson's preference, they are epoxied at the trailing edge, rather than installing a piano hinge.  This photo shows the system to check that they are aerodynamically aligned with the centerline of the fuselage, and therefore (hopefully) in line with the airstream in straight and level flight.


Fuselage is off the ground, mimicking flight condition of gear legs

Trailing edge of gear leg fairing is halfway between strings.

Now that the gear leg fairings are on, the wheel pant fairings can be installed.  These have to be aligned to the centerline of the fuse, to be level when the fuse is level, and to have the appropriate camber to match the angle of the wheels in an unweighted situation.  The photo shows a ruler measuring the offset of the center of the front of the wheelpant fairing from a chalked line parallel to the fuselage center line, and that it is the same as the offset of the trailing portion, that both are level and (not shown) that the fairing follows the angle of the wheel.  Also one needs to keep a one inch separation over the top center of the wheel to the inside of the fairing.  (This is achieved by taping a one inch thick spacer to the top of the tire when fitting the wheel pant fairing; again, not shown)


These photos show Wally Anderson's suggestion for keeping the gearleg fairing from twisting, until the intersection fairings to be installed later, lock them into position.  The expanding foam is "Great Stuff" from Home Depot.

At gear leg to fuse intersection

At gear leg to wheel pant intersection

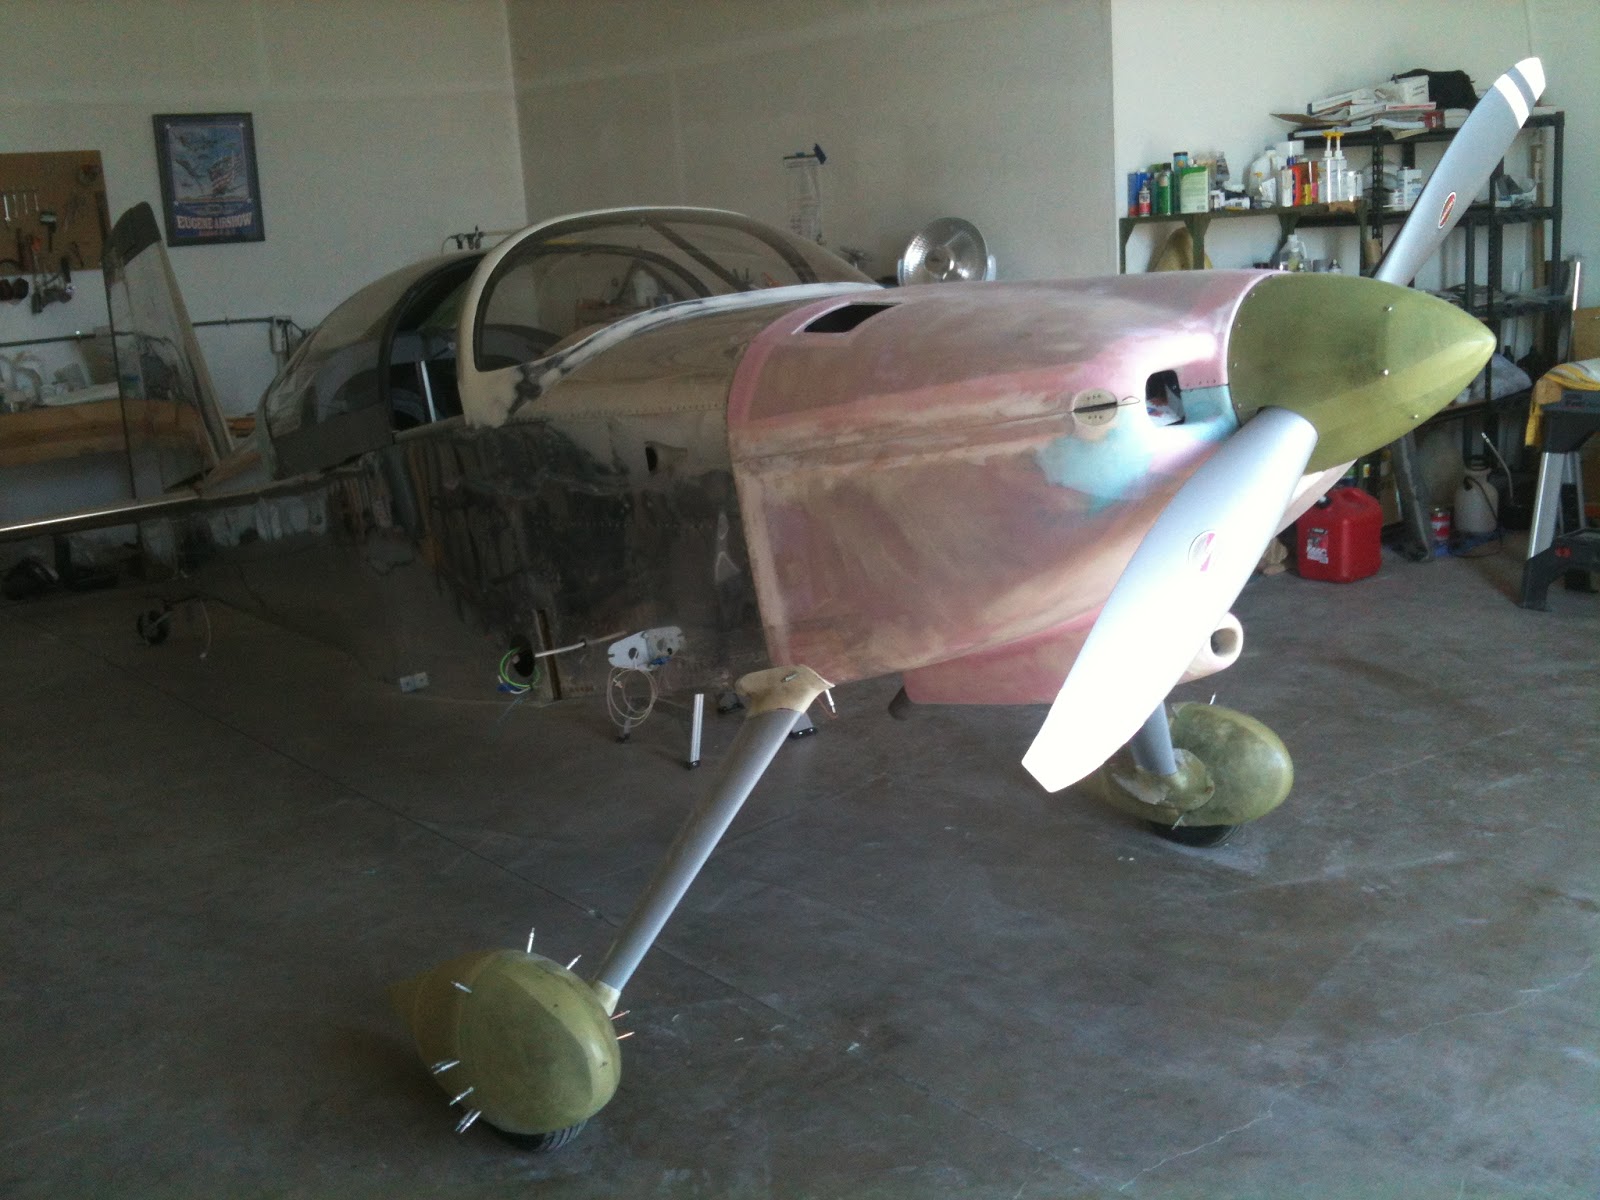
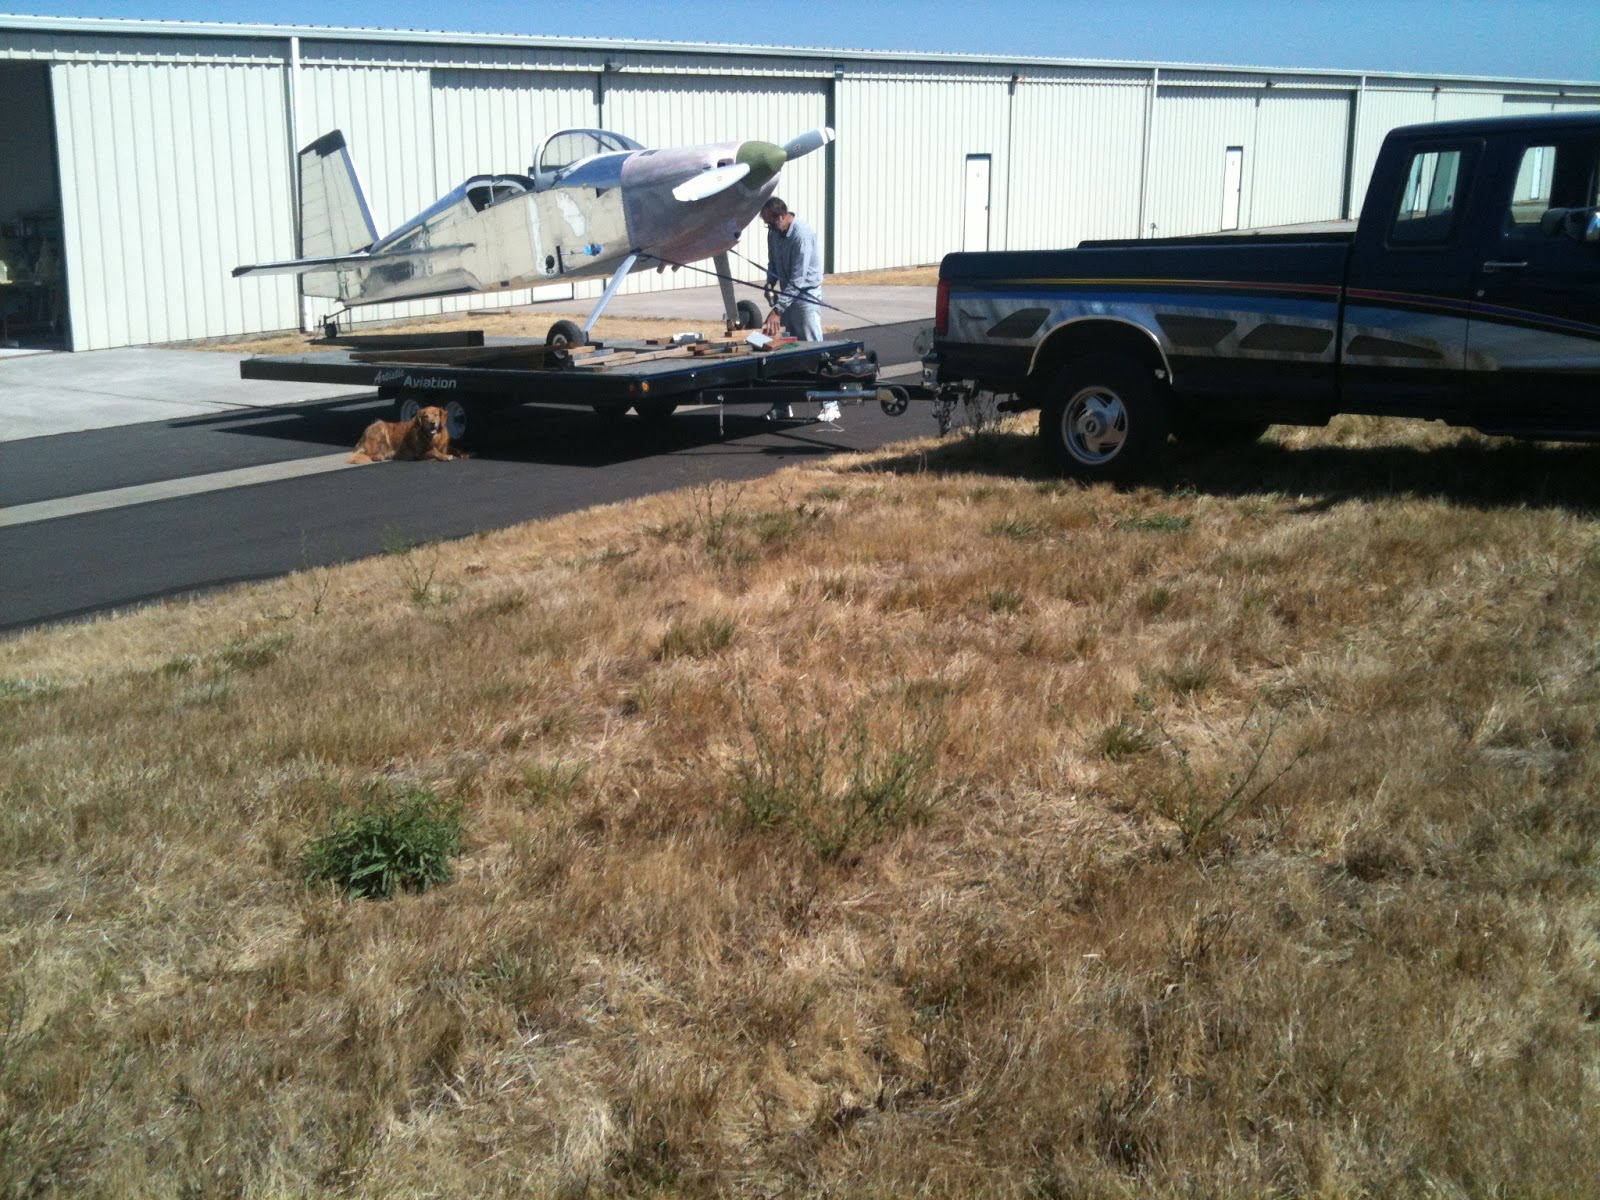
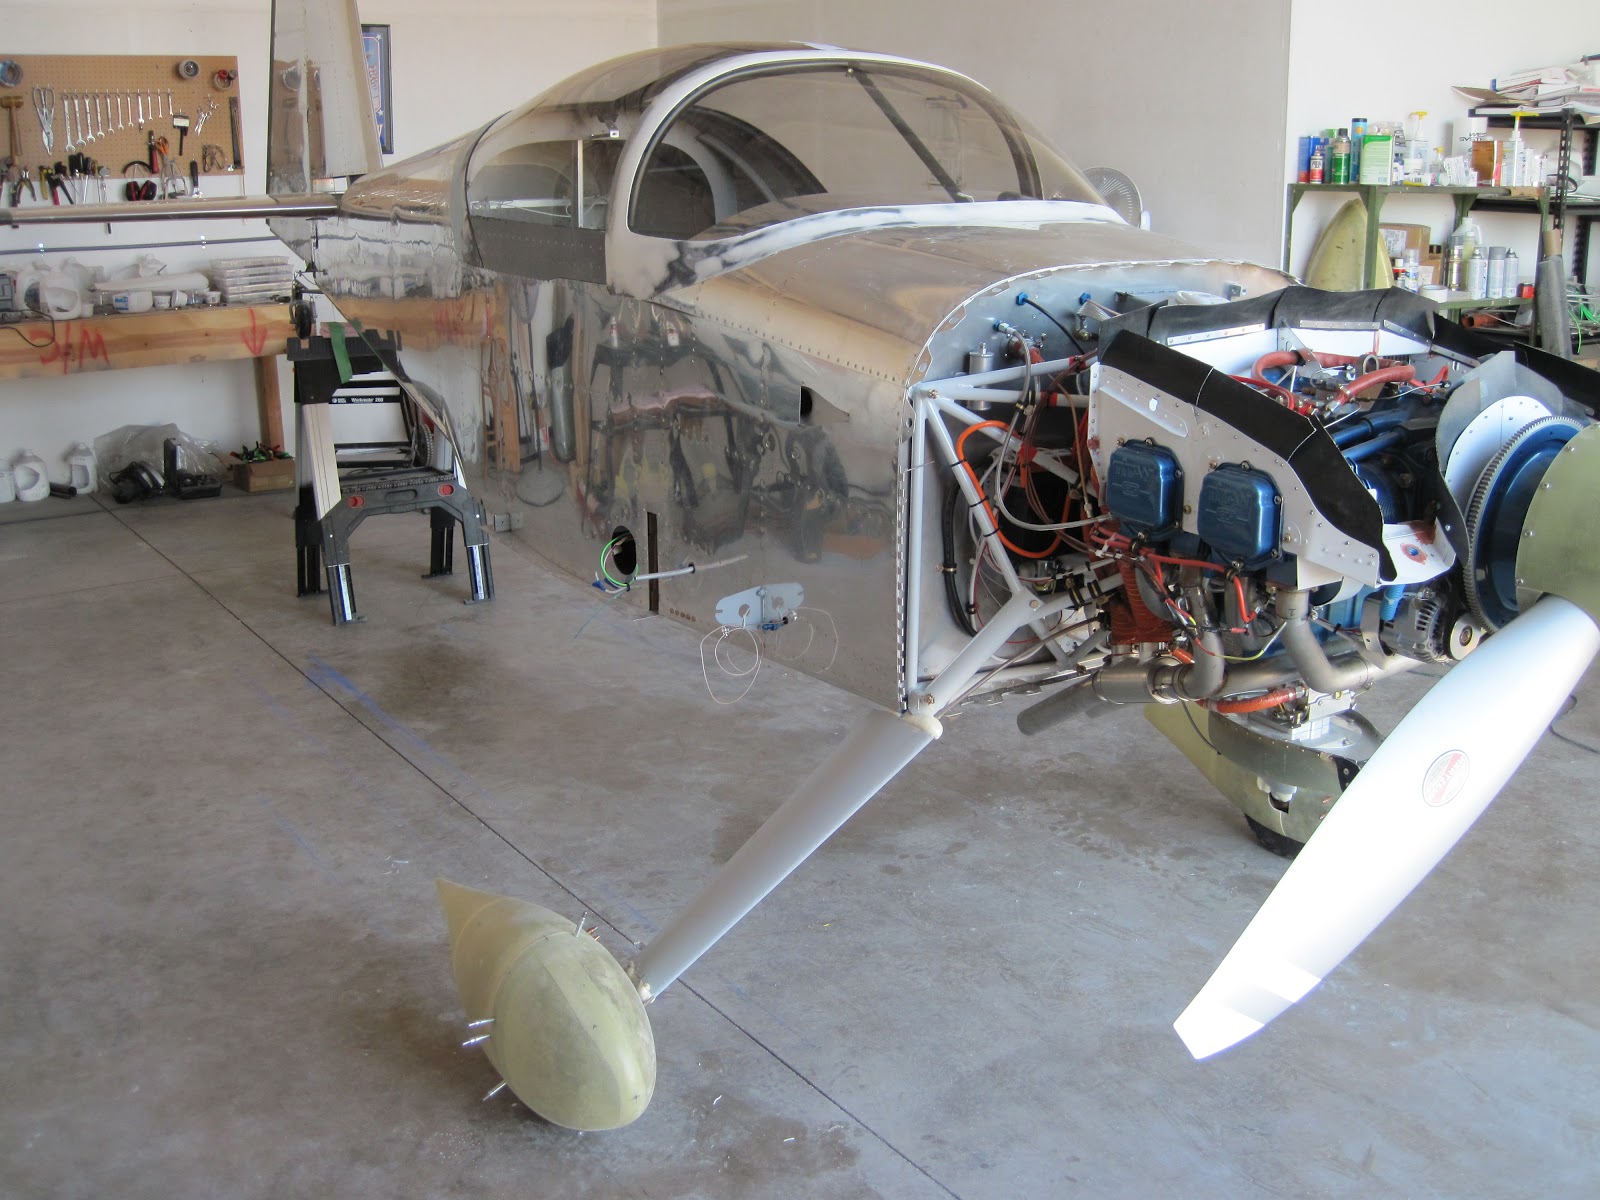
These last three photos are the "Deschutes Black Butte Porter shots"


Friday, August 24, 2012

Wings and cowling depart the plane

John Stahr is going to paint the plane.  In preparation, I finished the nutplates on the wing roots that I had neglected to put on months ago.


And also did some finishing work on the oil door.  Hidden hinge shown here

Then John came over and took the wings and cowling.  Perfectionist that he is, John soon found areas that needed more "work":


John's taping and perfecting the seam between the wingtip fairing and wing


Applying a first coat of epoxy and paint to inside of cowling


And improving the fit between the fairings and the ailerons

Some work to even up the seam between cowl halves


Meanwhile, I decided to stiffen the oil door, so it won't have a tendency to open itself in flight if there is movement between the cowling and the door.  I made two little stiffeners from foam, and attached them with micro and carbon fiber.  This door is now plenty stiff!


Every once and a while, its fun to step back, and take in the progress.  I keep Deschutes Black Butte porter in the refrigerator in the hangar for these moments...